WCB Advanced Features
Learn how to make your courses Zing by taking advantage of features found in ReadyGo Web Course Builder
To view a printable version of this course, click here
email your questions now
Prerequisites: PC with ReadyGo WCB installed, access to the Internet
To view a printable version of this course, click here
 Site Map
- 2.1 Converting PowerPoint Presentations
- 2.2 Services bar elements (FAQ's, Help, Glossary)
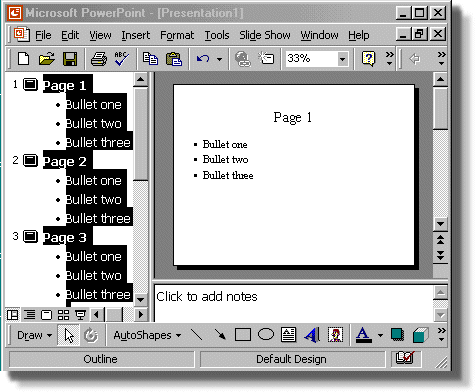
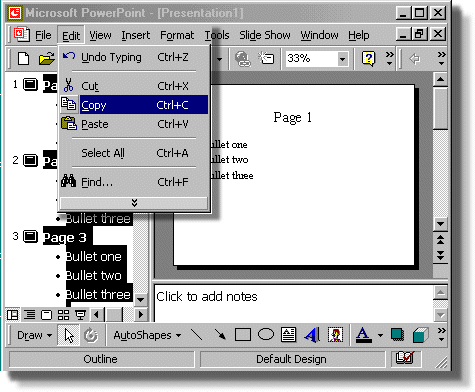
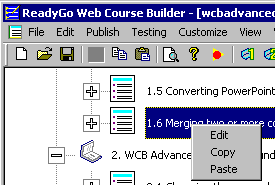
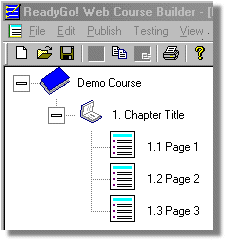
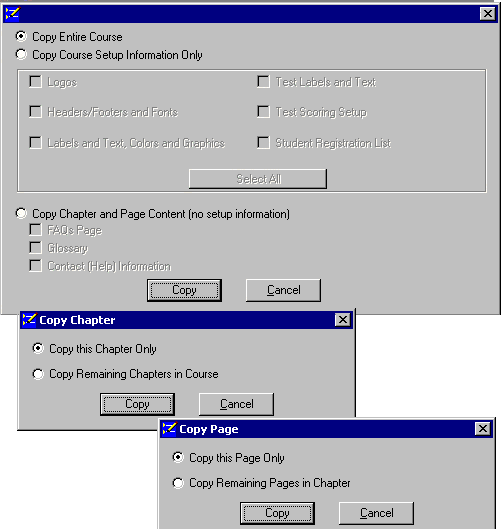
- 2.3 Merging two or more courses
- 2.4 Printing Your Course Text
- 2.5 Printing your Course with Graphics
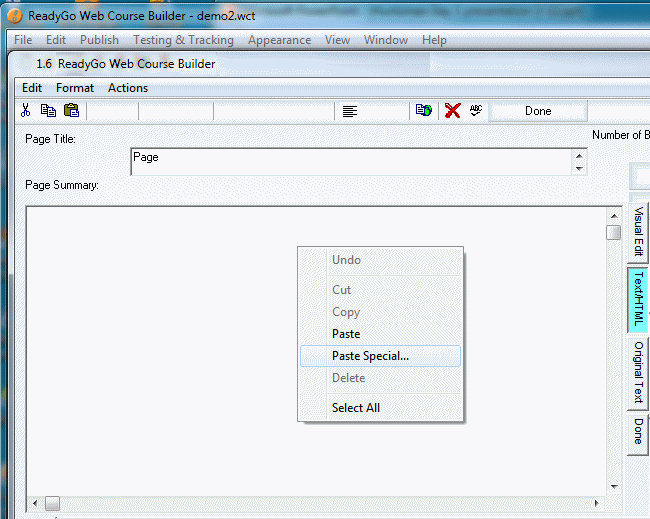
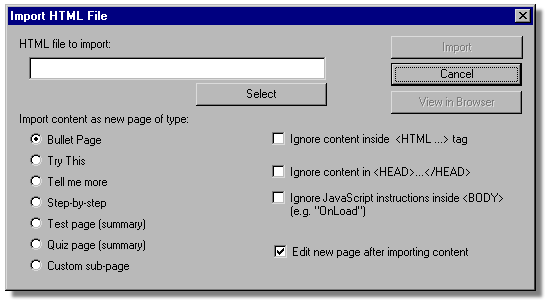
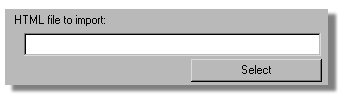
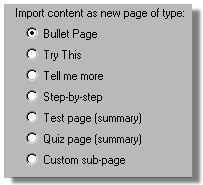
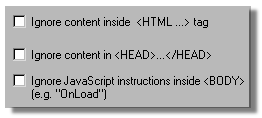
- 2.6 Importing web pages
- 2.7 Creating headers and footers
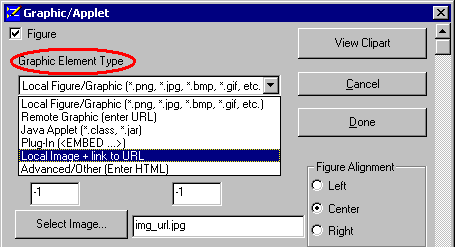
- 2.8 Creating links to sites or files from graphics
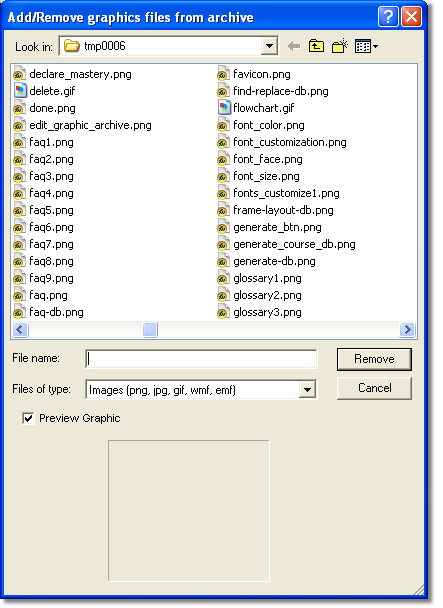
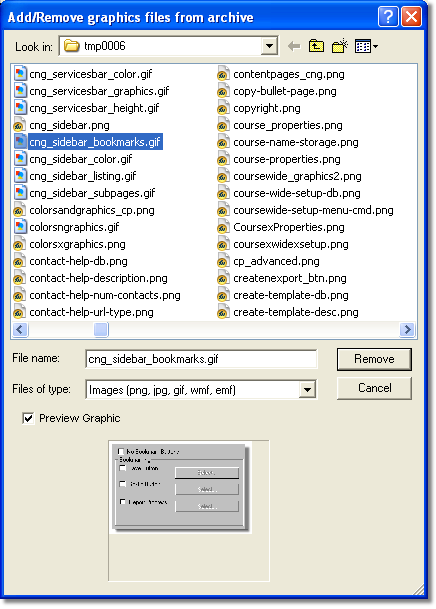
- 2.9 Editing the Graphic Archive
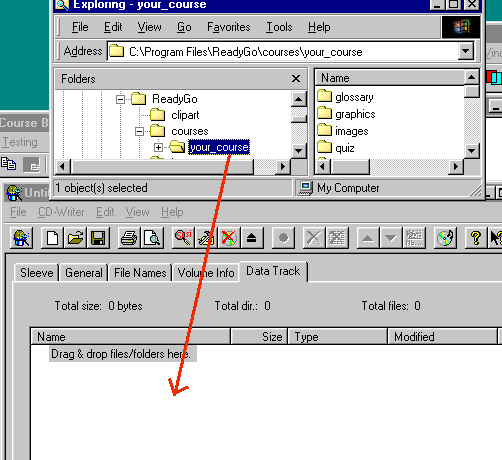
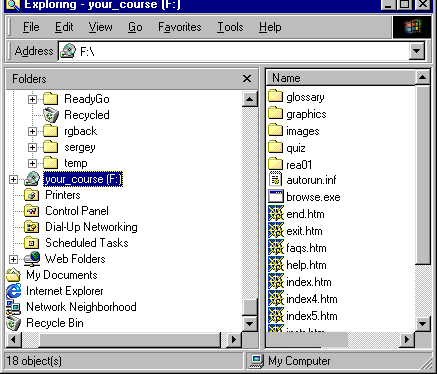
- 2.10 Putting your course on a CD-ROM
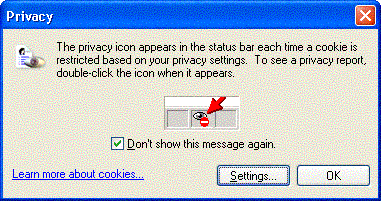
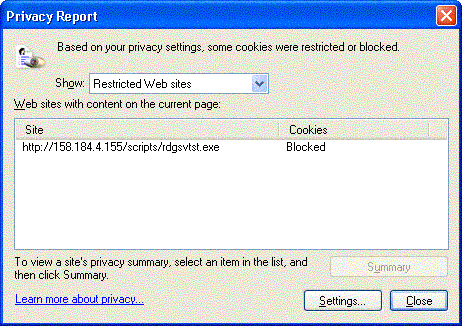
- 2.11 IE6 Cookies
WCB Advanced FeaturesCopyright
© 2005-2011 by
ReadyGo All rights reserved