 Back
Back| 4.4.1 4.4a Using style sheets in your web site |
| Step | Instruction | What it looks like |
|---|---|---|
| 1 | Choose Appearance > Style Sheets from the menu bar. |
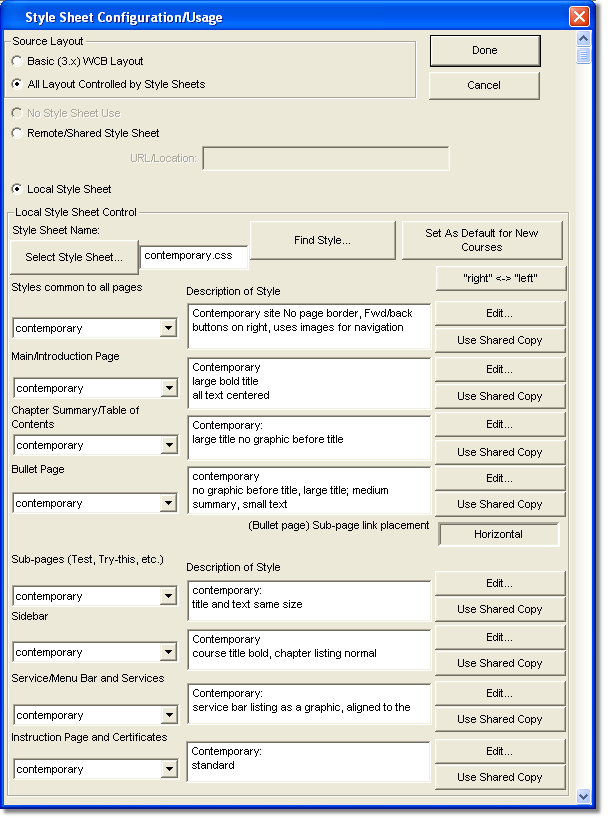 |
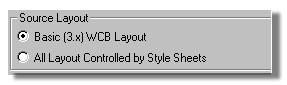
| 2 | Choose how much layout you want controlled by style sheets. If your visitor will be using older version browsers (3.x), select Basic (3.x) Layout. Otherwise, if your visitor are using the latest browser version (4.x and higher), select All Layout Controlled by Style Sheets. ReadyGo recommends using All Layout Controlled by Style Sheets. |
 |
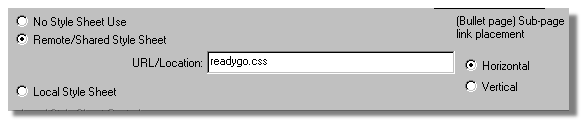
| 3 | Specify the location of your style sheet. Typically, you will select a style sheet, and import it into the site. (Note that the style sheets for ReadyGo sites need to be customized with the tags that the ReadyGo tool uses. Generic style sheets cannot simply be applied to ReadyGo sites.)
Note: If you are using a remote style sheet, specify the URL of the style sheet located on your web server. You can also specify whether the links to sub-pages (quiz, tests, Tell Me More articles, Netlinks, and custom sub-pages) are placed vertically or horizontally on the page. |
 |
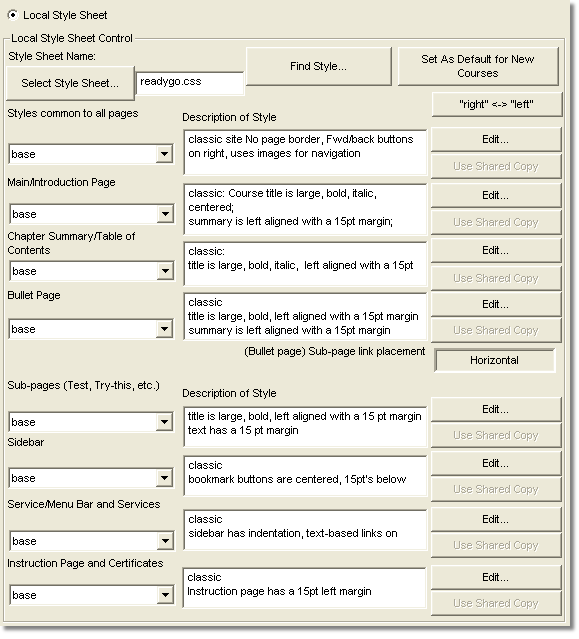
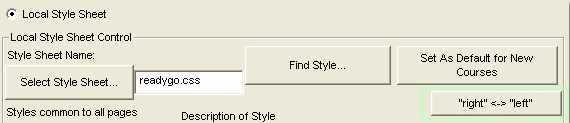
| 4 | To edit a local style sheet, select Local Style Sheet.
To load a style sheet that has been edited outside the tool, click Select Style Sheet to find the style sheet on your computer. |
 |
| 5 | To swap left and right in your style sheet, click the "right" <-> "left" button. This opens a dialog box for each style sheet section where you can review the changes and make edits if you want before saving each style sheet section. This feature is useful only if you are swicthing between right-to-left and lef-to-right text directions. |
 |
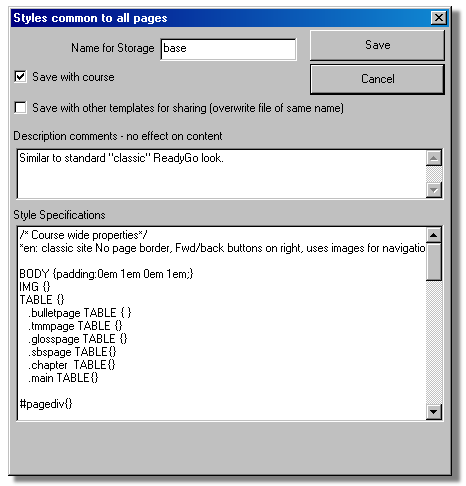
| 6 | The style sheet is divided into sections for the different parts of a web site. Find the section you want to edit and click Edit to make changes.
To save this style sheet section to use in other web site, enter a Name for Storage. To save these changes for use with the current web site, click Save With web site. To save these changes to use with other web site, click Save With Other Templates. Otherwise, your changes are only stored with the current web site. You can add comments to describe the style in the Description Comments field. Make changes to the style sheet in the Style Specification field. |
 |
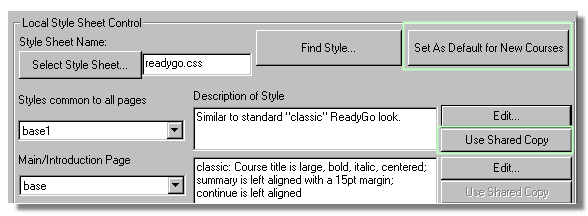
| 7 | To save all your style sheet changes as the new base style sheet, click Set As Default For New web siteThis overwrites the default base style sheet with your changes and all future web site will start out with this new base style sheet. Note that if you have specified a default master template, that setting will override the specification of a default style sheet.
If you have edited the local copy of a style sheet section, and you want to return to the shared version of the section, click Use Shared Copy. The last saved copy of that style sheet section will be loaded for use with this web site. |
 |
| 8 | When you have finished editing your style sheet, click Done. | |