 Back
Back| 4.2.1 4.2a How to Customize the Colors and Graphics |
| Step | Instruction | What it looks like |
|---|---|---|
| 1 | Choose Appearance > Colors and Graphics from the menu bar. |
 |
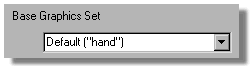
| 2 | Select the base set of graphics for your web site. You can replace any of the graphics in this base set with your own graphics. The base graphics sets are groups of images that have been provided by ReadyGo. |
 |
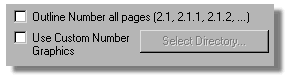
| 3 | To automatically outline-number your site's chapters and pages, select the Outline Number all Pages check box.
Alternately, you can specify a directory that contains a set of number graphics to use in your web site. Click Select Directory and choose the file for the number one, for example, 1.gif. |
 |
| 4 | To set the colors and frame layout that you have currently select as the default for future web sites, click Set Colors & Frame as Default. Note that if a default master template has been specified, it will override this default. |
 |
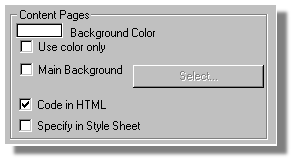
| 5 | To change the color and/or background image for all the content page in your web site, click Background Color and/or select Main Background to select an image for the background. If you just want a solid color, select Use Color Only. If your background image has transparency, the selected background color will appear through it. |
 |
| 6 | You can replace any of the base set of ReadyGo navigation graphics with your own graphics. Select the graphic you want to replace and click Select to find the graphic on your computer.
IMPORTANT: Some of these graphics have two versions. One is the normal graphic on the page and the other is a highlighted version of the graphic for when the student moves their mouse over the graphic. You must have two versions of your graphic and they should be exactly the same size. |
 |
| 7 | You can specify a 16x16 icon to add to your web site. This icon will appear in the browser address bar next to the URL of your web site. The file must be an icon file (.ico extension). |
 |
| 8 | Click the Bullet Pages tab. |
 |
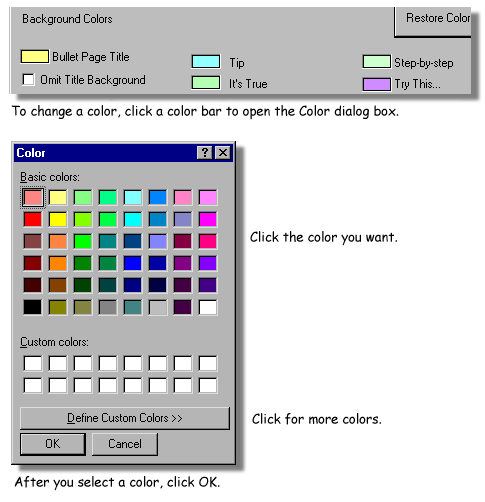
| 9 | To change background colors, click the colored region, select a color (or define a custom color), and click OK.
Note:Setting the background color of the Bullet Page Title to White makes the background for the title transparent. |
 |
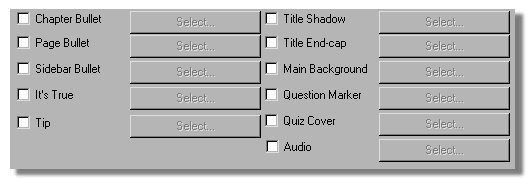
| 10 | You can replace any of the base set of ReadyGo graphics with your own graphics. Select the graphic you want to replace and click Select to find the graphic on your computer.
IMPORTANT: Some of these graphics have two versions. One is the normal graphic on the page and the other is a highlighted version of the graphic for when the student moves their mouse over the graphic. You must have two versions of your graphic and they should be exactly the same size. You can also specify custom graphics for the different levels of bullet point indentation. |
 |
| 11 | Click the Sidebar tab. |
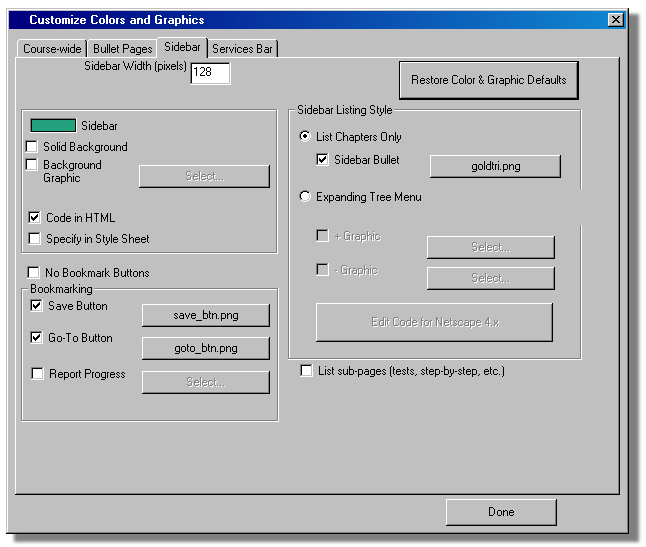 |
| 12 | To change the width/height of the sidebar, enter the width/height (in pixels) in the Sidebar Width field. The size/shape of the side and services bars can be controlled more precisely from the Appearance > Frame Layout dialog. |
 |
| 13 | To change the color and/or background image for the sidebar, click Sidebar color to choose a color and/or select Background Graphic to select an image for the background. If you just want a solid color and no top gradient, select Solid Background. |
 |
| 14 | You can remove the bookmark buttons from your web site or you can replace the bookmark buttons with your own graphics. |
 |
| 15 | Choose whether to have the sidebar include links
to chapters only or include an expandable tree menu
with links to chapters and bullet pages.
If you choose the expandable tree menu, you can also replace the default graphics for the expand and collapse buttons. |
 |
| 16 | To have sub-pages listed in the expandable tree menu (if enabled), the chapter introduction pages, and the site map, select List sub-pages. |
 |
| 17 | Click the Services Bar tab. |
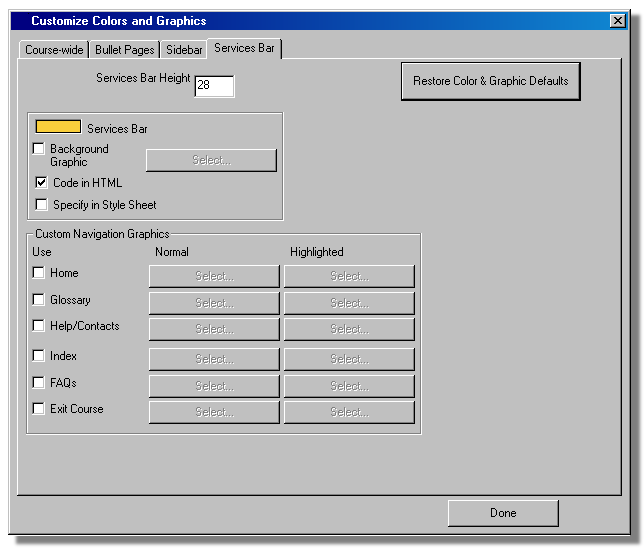 |
| 18 | To change the height/width of the services bar, enter the height/width (in pixels) in the Services Bar Height field. This can be controlled from the Appearance | Frame Layout dialog with more options. |
 |
| 19 | To change the color and/or background image for the services bar click Services Bar color to choose a color and/or select Background Graphic to select an image for the background. If you just want a solid color services bar do not select a background graphics. |
 |
| 20 | To replace the text links in the services bar
with your own custom graphics,
select the graphic you want to replace and click Select to find the graphic on your computer.
IMPORTANT: All of these graphics have two versions. One is the normal graphic on the page and the other is a highlighted version of the graphic for when the student moves their mouse over the graphic. You must have two versions of your graphic and they should be exactly the same size. |
 |
| 21 | Click Done to save your changes. | |