 Back
Back| 2.3.1 2.3a Creating a Step-by-Step Page |
| Step | Instruction | What it looks like |
|---|---|---|
| 1 | Click the Step-by-Step button in a bullet page dialog box. |
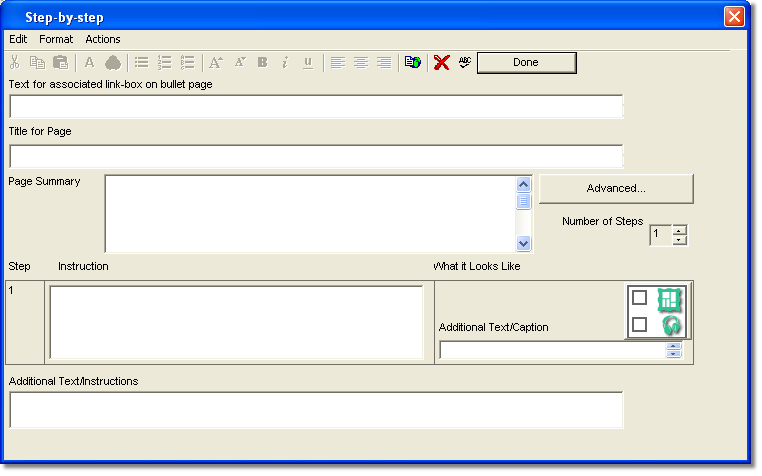 |
| 2 | In the Text for Associated Link-box field, type the text to include with the Step-by-Step link on the bullet page.
The default Step-by-Step bullet text is used if you leave this field blank. You can set the default Step-by-Step bullet text by choosing Appearance > Labels and Text. |
 |
| 3 | In the Title for Page field, type the title for the Step-by-Step page. |
 |
| 4 | In the Page Summary field, type a short paragraph explaining the purpose of the Step-by-Step page.
You can leave this field blank. |
 |
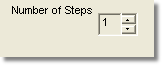
| 5 | Specify the number of steps you want on your Step-by-Step page. You can have up to 50 steps on a page. |
 |
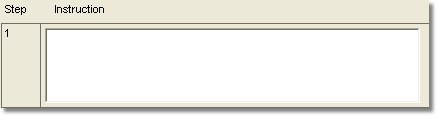
| 6 | In the Instruction field, type the instructions for each step. |
 |
| 7 | To add a graphic for the step, click the Graphic/Audio button to the right of the step. You can also add audio or multimedia using this button.
To add a caption for the graphic, type it in the Additional Text/Caption field below the Graphic button. |
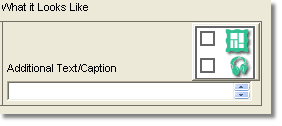 This is what a captioned graphics looks like. |
| 8 | If you want to include a summary or additional text at the end of your Step-by-Step page, type it in the Additional Text/Instructions field. |
 |
| 9 | Click Done to save the Step-by-Step page. |
 |
Print this page to use as a reference when you create a Step-by-Step page.