| Step
|
Instruction
|
What it looks like
|
| 1 |

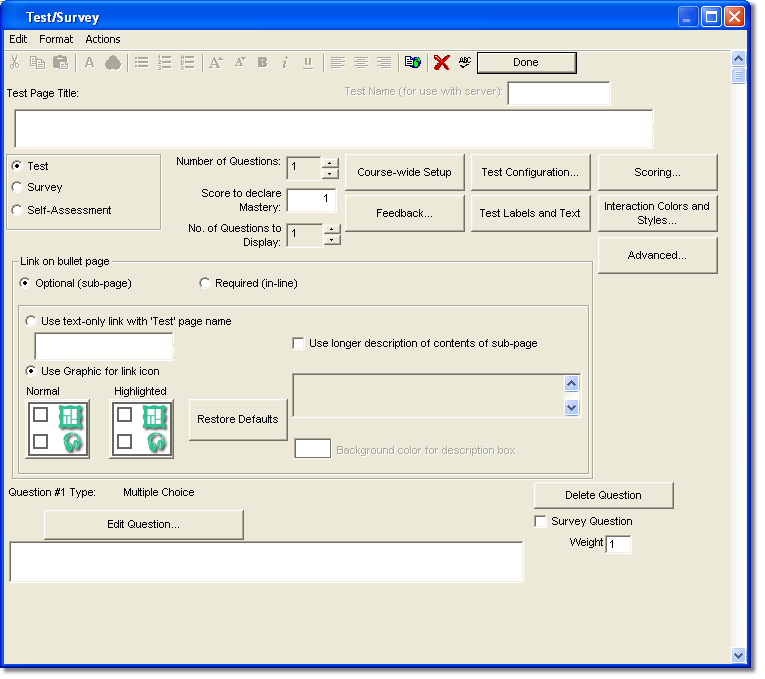
Click the Test/Survey button on the bullet page dialog box.
|
 |
| 2 |
Type the title for the Test.
|
 |
| 3 |
Select whether you are adding a Test, a Survey, or a Self-Assessment.
Only Test pages are graded. You can include survey questions on a Test page at the same time as having test pages. The survey questions are not graded.
|
 |
| 4 |
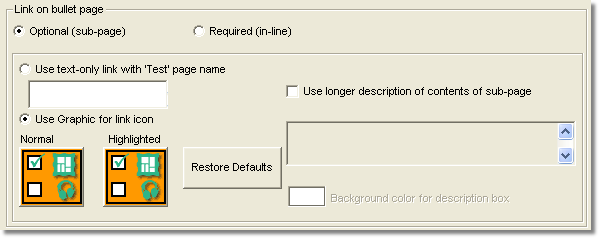
Choose whether the test is Optional (accessed through a link from the bullet page) or Required (accessed through the forward arrow from the bullet page).
If the test is set as Optional, choose whether access to the test is through a linked text or a linked graphic.
|
 |
| 5 |
Specify the Number of Questions on your test. You can have up to 100 questions for each test.
Specify the number of correct answers required to declare mastery of the test. Students will receive a good score message if they answer this number of questions correctly.
|
 |
| 6 |
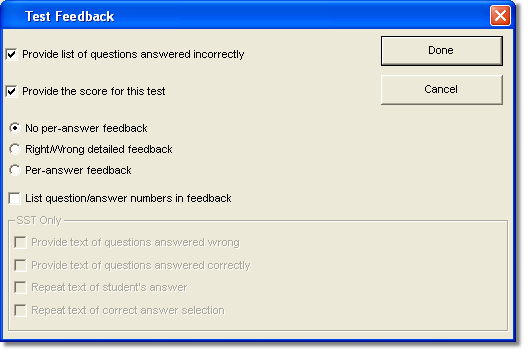
To provide feedback to the student for the test questions,
click Feedback.
You have control over what information is shown to the student when they submit their test.
You can provide:
- The list of questions answered incorrectly by question number.
- The students score
- Feedback for both incorrect and correct answers
- Feedback for each possible answer
- The question number and the student's answer number (if appropriate) next to the question feedback
Once you specify the type of feedback you want to use, additional fields appear next to each question where
you can provide your feedback text.
|
 |
| 7 |
Click the Number of Questions to Display arrow and specify a number equal to or less than the total number of test questions to have different questions presented to each student (question pooling).
Note: To enable this field, you must first configure Server-Side Testing so that the server generates tests in random order.
|
 |
| 8 |
Click Edit Question to add or edit a test question.
See the following pages for information on each different type of test question.
|
 |
 Back
Back


 Web Course Builder Tutorial


