 Back
Back| 3.1.2 3.1b Adding Graphics and Audio |
| Step | Instruction | What it looks like |
|---|---|---|
| 1 | Click the Graphic/Audio button. |
 |
| 2 | In the Graphic Element Type field, specify the type of media you want to integrate into the course. |
 |
| 3 | In the Alternate display name field, specify text that is displayed when the student moves the mouse over the graphic in the course. |
 |
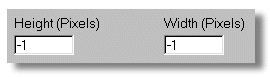
| 4 | Specify the size of your graphic. The default height of -1 and width of -1 allows the browser to display the graphic in its default size. |
 |
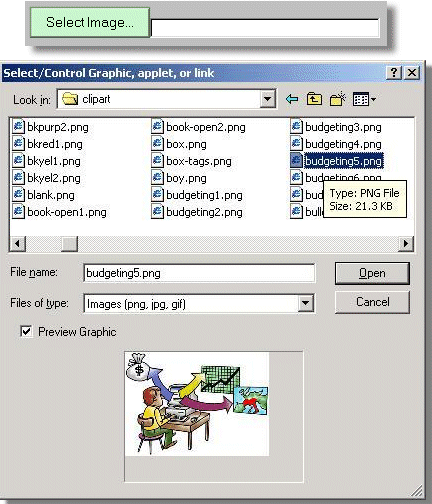
| 5 | Click Select Image to find the graphic on your computer. Select the graphic you want to use and click Open.
To see a preview of the graphic you selected, select Preview Graphic. |
 |
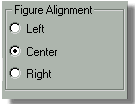
| 6 | Specify how you want the graphic placed on the page. |
 |
| 7 | To add an audio file to the page, select the Audio check box. |
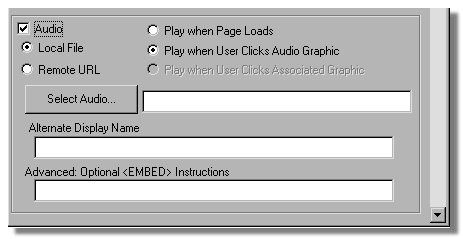 |
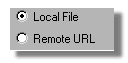
| 8 | Select whether the audio file is a local file or is located remotely where you will provide a URL for the file. |
 |
| 9 | Choose how you want the audio file to play on the page. |
 |
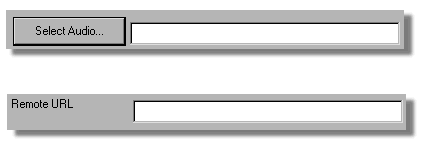
| 10 | If you selected to insert a local audio file, click Select Audio to find the file on your computer. Select the file you want to use and click Open.
If you selected to insert a remote audio file, enter the Remote URL. |
 |
| 11 | If you selected Play when User Clicks Audio Graphic, you can specify text that is displayed when the student moves the mouse over the audio graphic in the Alternate Display Name field. |
 |
| 12 | Add any additional options that may be required for the plug-in in the Advanced Optional Instructions field. |
 |
| 13 | Click Done to save your changes. |
 |